Limited time offer! Get yours now!
DIY Chapstick
Click here to learn how you can make healing chapstick at home!
5/8/20242 min read
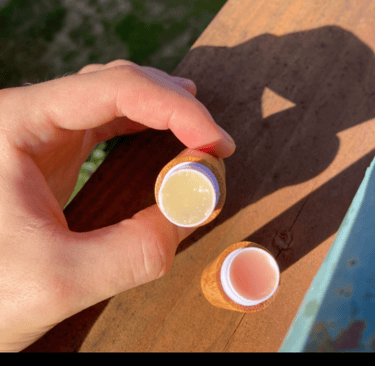
Chapstick at the store seems to have a long list of ingredients that I don't even recognize, and some are quite expensive. I say most things are best made at home. Lips are the thinnest part of the skin and absorb fast, so our chapstick needs to nourish and protect the lips. This chapstick uses minimal but nourishing ingredients. * For all the supplies in this recipe click here :)
If you would like a softer chapstick, you can use less beeswax. You can also replace coconut with one of these softer but still nourishing oils:
Avocado oil
Jojoba oil
Olive oil
Almond oil
Ingredients:
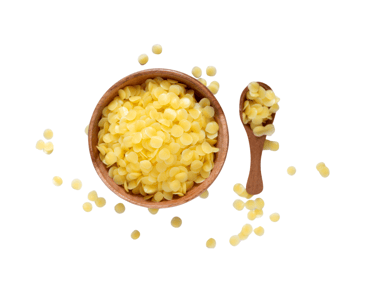
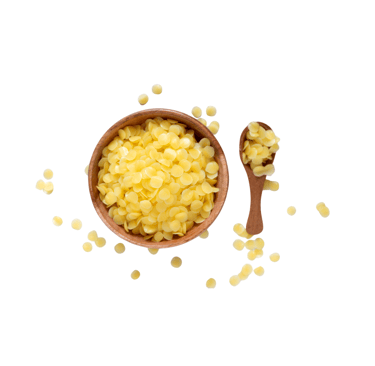
1 tbsp beeswax
2 tbsp shea butter ( cocoa butter or mango butter will work too)
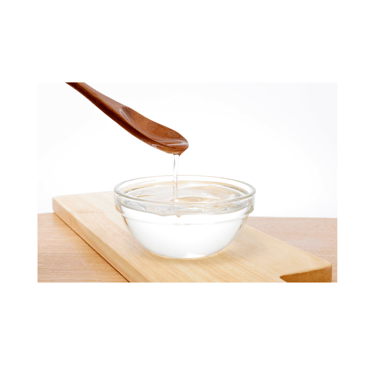
1 tbsp Coconut oil
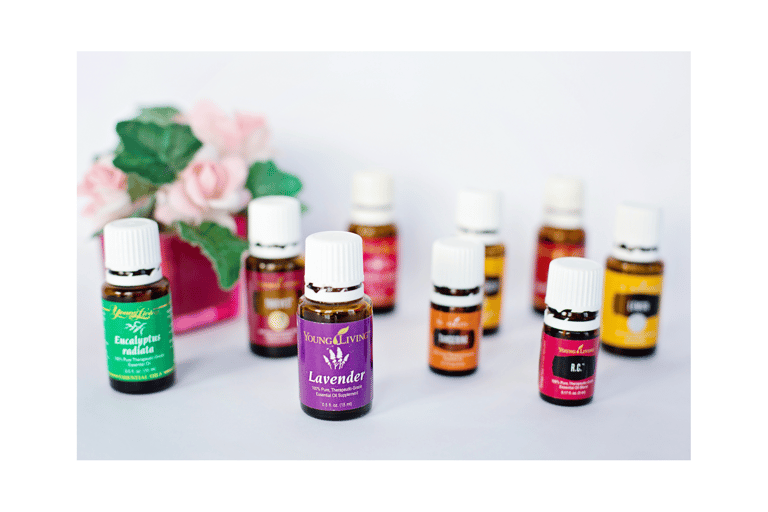
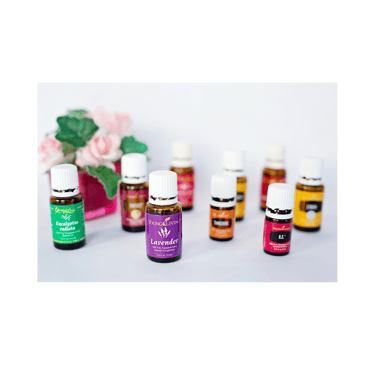
20 drops of Essential oils ( lavender, orange, frankincense, peppermint are good options)
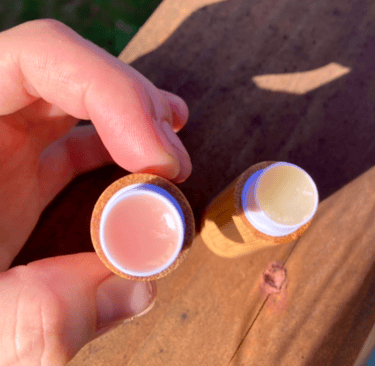
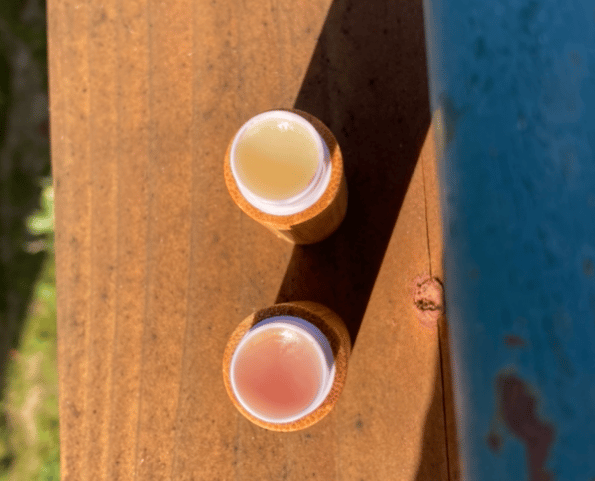
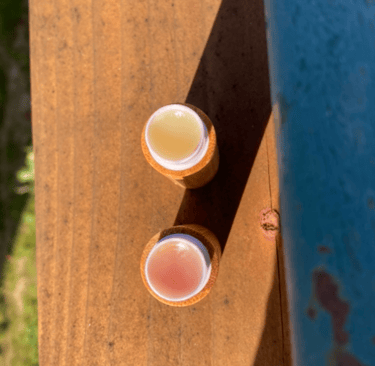
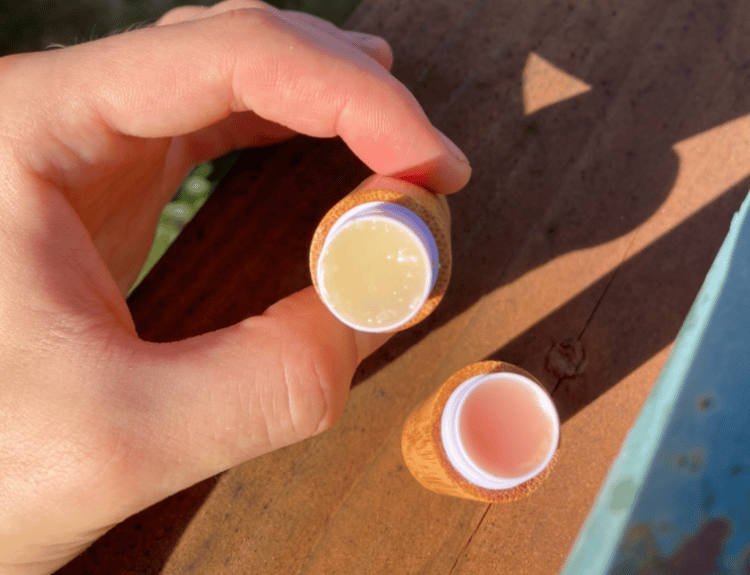
1 tsp beet root powder for color ( optional) you can add more for a deeper red color
Supplies:
Double boiler
Silicone spatula ( to mix the ingredients in double boiler)
Empty chapstick containers
Glass dropper
Recipe:
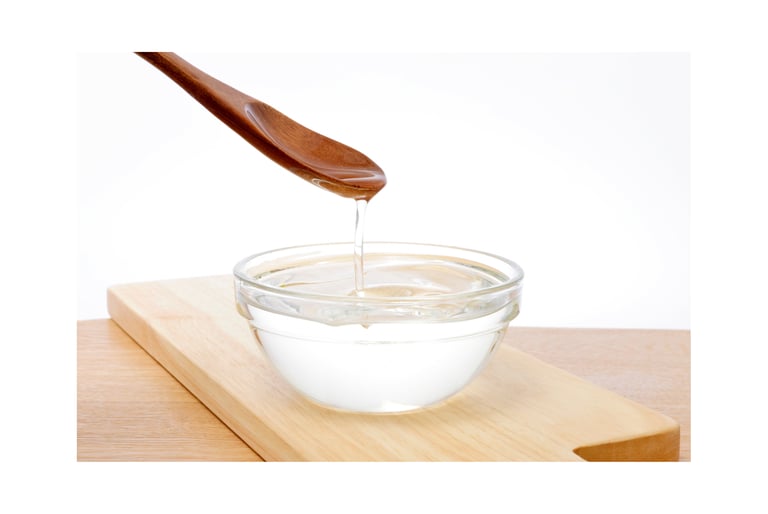
1.) Add in some water to the bottom pot of the double boiler
2.) Place the double boiler on top, you can also use a heat safe glass bowl on top
3.) Add the shea butter, coconut oil, and beeswax into the double boiler, slowly let the mixture melt, stirring occasionally
4.) Once the mixture has melted turn off the heat, but leave the top of your double boiler on to keep it warm
5.) Mix in your essential oils if you would like them
6.) Stir in beet root powder if desired, add more or less depending on how dark you would like the red color
7.) Take a dropper and suck up the mixture
8.) With the glass dropper add the mixture into the empty chapstick containers
9.) The mixture will start to settle quickly but will take longer to harden
*Let the chapstick sit out for a few hours or until fully hardened
*Keep in a cool dry place