Limited time offer! Get yours now!
DIY Beeswax Wraps
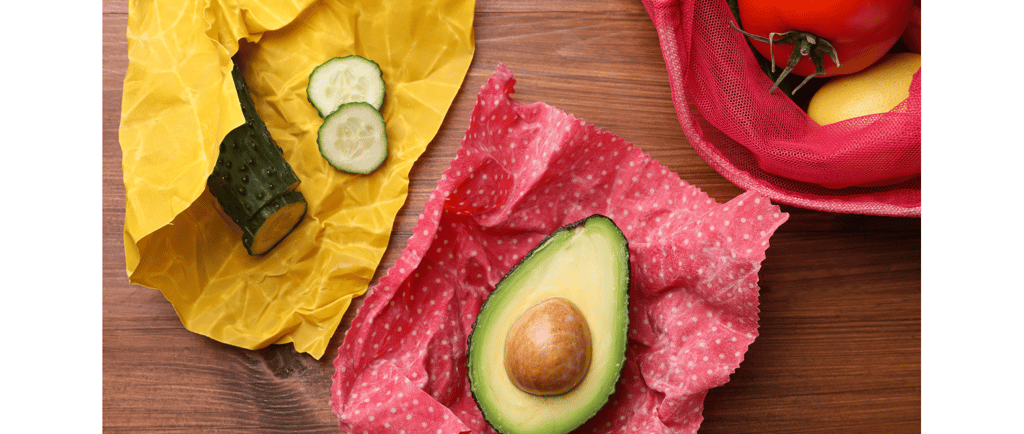
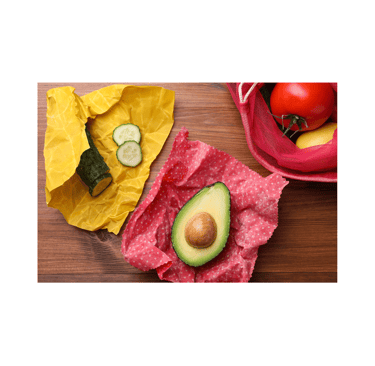
No more single use plastic wrap! Try these instead!
9/25/20244 min read


How to Make Beeswax Wraps: A Step-by-Step Guide
Beeswax wraps are an eco-friendly alternative to plastic wrap, perfect for keeping your food fresh while
reducing plastic waste. They’re reusable, biodegradable, and easy to make at home with a few simple
ingredients. Here’s a detailed guide on how to
make your own beeswax wraps.
Materials You’ll Need:
Cotton Fabric: 100% cotton works best, as it’s breathable and holds the wax well. Use lightweight, tightly woven fabric for optimal results.
Tip: Pre-washed fabric is ideal. You can use old cotton shirts or buy fabric from a craft store. Cut the fabric into squares or rectangles depending on your needs.
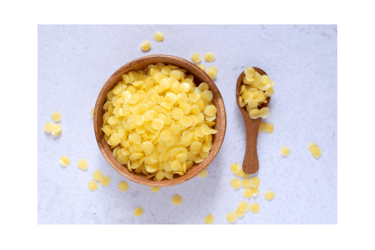
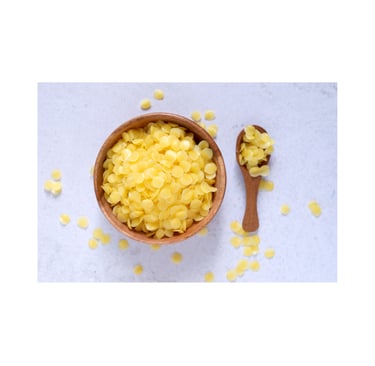
Beeswax Pellets or Beeswax Block: The key ingredient! You can find beeswax in pellet form or buy a block
and grate it. Make sure it’s food-grade beeswax.
Jojoba Oil (Optional): Helps make the wraps more pliable and softer.
Pine Resin (Optional): This helps increase the stickiness of the wrap, but it’s optional if you prefer a
less tacky wrap.
Parchment Paper: For covering the fabric during the wax application.
Brush or Paintbrush (Optional): Helps evenly distribute the melted wax.
Baking Tray or Cookie Sheet: For placing the fabric during the melting process.
Iron or Oven: To melt the beeswax and infuse it into the fabric.
Scissors or Pinking Shears: For cutting the fabric.
Step-by-Step Instructions:
1. Prepare Your Fabric
Cut the Fabric: Cut your fabric into desired sizes using regular scissors or pinking shears to prevent fraying. Common sizes include:
8x8 inches (perfect for small snacks or covering jars).
12x12 inches (ideal for wrapping sandwiches).
14x14 inches (great for larger bowls or veggies).
Wash and Dry: Make sure the fabric is clean, washed, and dried before use to ensure the wax sticks properly.
2. Set Up Your Workspace
Cover the Surface: Lay down parchment paper on a flat surface or a baking sheet to avoid wax spills.
Preheat the Oven: If using an oven, preheat to about 175°F (80°C). You can also use an iron if preferred.
3. Apply Beeswax
Using the Oven Method:
Sprinkle Beeswax Pellets: Evenly distribute a thin layer of beeswax pellets over the fabric square. If using a block of beeswax, grate it finely and sprinkle it evenly.
Add Jojoba Oil and Pine Resin: If using jojoba oil or pine resin, sprinkle a small amount (1/4 teaspoon of oil per wrap and a light dusting of resin) on top of the beeswax. This step helps to increase the flexibility and stickiness of your wrap.
Bake: Place the fabric in the oven on the baking sheet for about 4-6 minutes, or until the wax is fully melted. Keep an eye on it to avoid overheating.
Spread the Wax: Once the wax is melted, use a brush or an old paintbrush to spread it evenly across the fabric if needed. Ensure the entire surface is covered.
Using the Iron Method:
Sandwich the Fabric: Place the beeswax-covered fabric between two sheets of parchment paper.
Iron the Fabric: Using a medium heat setting, slowly iron over the parchment paper, evenly distributing the melted wax across the fabric. Make sure to cover the entire piece of fabric with wax.
4. Let the Wrap Cool
Remove from Oven or Iron: Carefully lift the fabric off the baking sheet or parchment paper while it's still warm.
Hang or Hold to Dry: Hold the edges of the wrap for a few seconds to allow it to cool and harden. Alternatively, hang the fabric to dry over a clothesline or drying rack. The wrap should harden within a minute or two.
5. Trim the Edges (Optional)
If the edges of your wrap are uneven or frayed, trim them using pinking shears for a clean, zig-zag finish that prevents fraying.
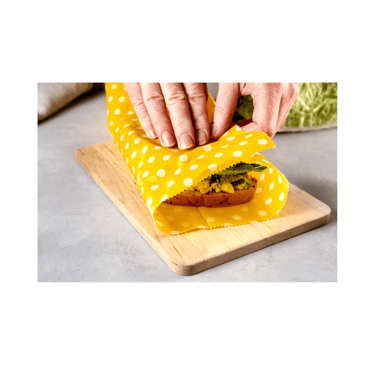
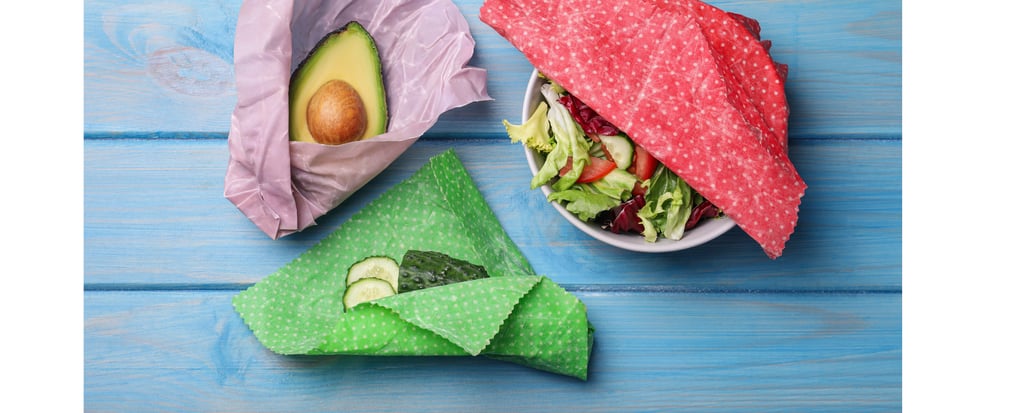
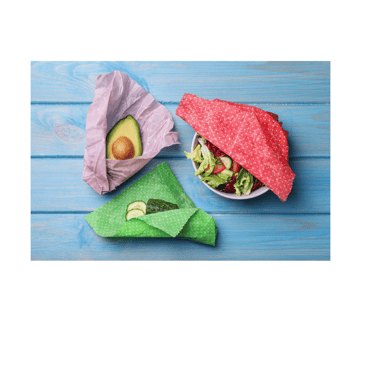
How to Use Your Beeswax Wraps
Wrap and Seal: Use your hands to warm the wrap by pressing it over bowls, fruits, veggies, sandwiches, or bread. The beeswax will soften slightly with the warmth of your hands, allowing it to mold and seal around the item.
Reusability: After each use, wash the wrap with cool water and mild soap, then air dry. With proper care, beeswax wraps can last up to a year.
Tips for Best Results:
Avoid Heat: Do not use beeswax wraps on hot food or in the microwave, as the heat will melt the wax.
Refreshing the Wraps: If your wrap loses its stickiness over time, refresh it by adding a small amount of beeswax and repeating the melting process.
Common FAQs:
Can I use other oils besides jojoba oil?
Yes, you can substitute jojoba oil with other food-safe oils like coconut oil. However, jojoba oil is preferred for its antibacterial properties.
How long do beeswax wraps last?
With proper care, beeswax wraps can last for 6-12 months. Refresh the wax layer when they lose effectiveness.
Are beeswax wraps compostable?
Yes, beeswax wraps are fully biodegradable. Once they wear out, you can compost them or use them as fire starters.
Conclusion
Making your own beeswax wraps is a fun, eco-friendly project that saves money and reduces plastic waste. Plus, you get to customize the sizes and patterns of the fabric for your kitchen! Follow these steps, and you’ll have beautiful, reusable wraps in no time.